NAF4Free is a fork of BSD/FreeBSD which is dedicated for network attached storage. The NFS, Network File System, is shared file system protocol allowing client to access file across network. The following is my resume of tutorial given on HPC workshop in ICTP about building own NAS/NSF solution with Nas4free.
 |
| NAS4Free Web UI interface |
It is assumed you already has
master and compute nodes in Virtualbox, so the next task is to mount NAS4Free on master either on compute node.
Mount NAS4Free from Master Node
Step-by-step:
- Download the latest ISO file of NAS4Free
- Make new virtual machine on VirtualBox with the following spesification
- 768 MB of RAM
- 30 GB HD
- Network: Bridged-Adapter --> eth0
- Boot NAS from VirtualBox, the installation process will start
- Reboot after installation
- Eject the installation disk and add additional disk to the NAS from the setting, 2 GB is enough for this experiment (see the picture)
- Boot again
- Configure the NAS, choose option 2 : Configure Network IP address and choose DHCP (for easy, but configure static for the real condition)
- Your NAS IP will be shown, for example 10.1.255.254
- Go to the given IP address via web browser, you'll see NAS4Free WebGUI Login
- Login to your NAS4Free, the default is 'admin' for user and 'nas4free' for the password, make yourself familiar with the Web UI menu.
- Format the disk from Disk menu, use UFS or ZFS
- Mount it from Mount menu, choose the disk (adaX, gpt), mount point name: data.
- Move to service menu, choose NFS, enable it.
- Choose share, and configure it:
- The most important thing is to set authorised network, gather information from your host pc to obtain this information. For example if my inet addr:10.57.18.5 Bcast:10.57.255.255 Mask:255.255.0.0 (from ifconfig command), then my authorised network is: 10.57.0.0/16 (net mask).
- Save it and choose apply changes
- Choose advance menu and command, use the following command:
killall mountd; mountd -r -n
- Now you should mount to your NAS with,
mkdir /mnt/data
mount 10.1.255.254:/mnt/data /mnt/data
- Try to add data, touch /mnt/data/test.txt and check it in your NAS
- Alternatively, you can add FTP service and check it via FTP
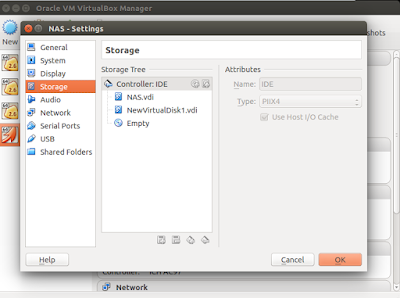 |
| Adding disk in NAS via VirtualBox Setting |
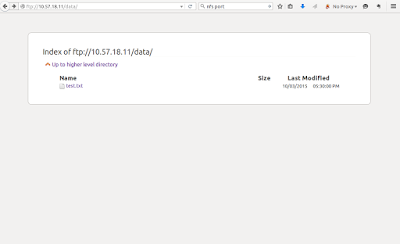 |
| Access NAS via FTP |
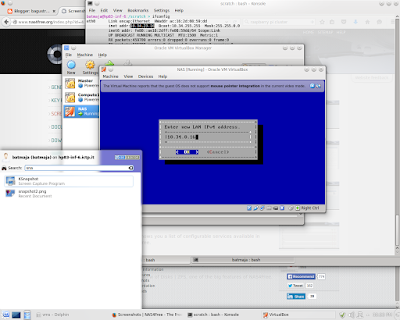 |
| Configure IP address (for instance you can use DHCP) |
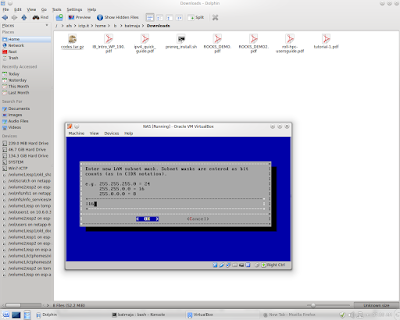 |
| Set subnet mask (for instance you can use DHCP) |
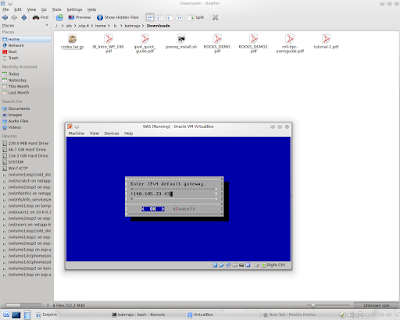 |
| Set the gateway (for instance you can use DHCP) |
 |
| Set the DNS (for instance you can use DHCP) |
Adding NAS4Free to the cluster
Adding NAS to the cluster via VirtualBox is similar to add it to the master. The different is to set the the network setting to be the same with compute node (internal network:cluster-switch). Give command from master node
insert-ethers and choose NAS Appliance. Now you can boot from NAS and configure it as DHCP (option 2), that's all.


