
Here is how:
- Login to your blogger blogspot
- Go to Setting
- In Basic >> Publishing >> Blog address, click "setup third party for your blog". Hold on...
- Go to your "my freenom" (https://my.freenom.com)
- Go to "My Domains menu", clik on "Manage domains" in line which your domain will be set.
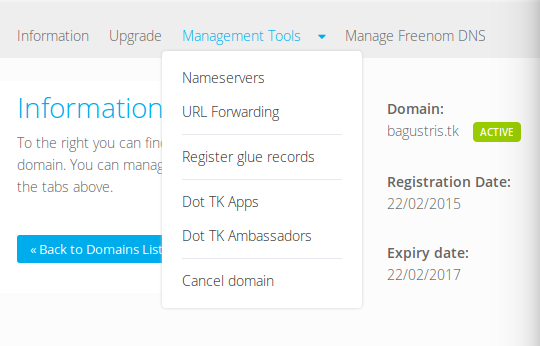
- Click Management tools >> Nameserver >> Use default nameserver >> Change Nameserver If it is previously there, click "Use custom nameserver (enter below)" and click again Use default nameserver. This is used to activate zone in "Manage Freenom DNS" wchich is by default stated ad "Zone is not activated".
- Go to "Manage Freenom DNS" and enter two cnames information from step number 3 in "Add Record". If you haven't those cnames, try to add your freenome domain (for example mine is bagustris.tk) and gather cnames information. Save changes. Below are the add record form and example after I have filled it.
- Back to step 3, enter your freenom domain, save it. It should be no error (previously you will have error code 12 and 13).
- Done!
 |
| Source: Tipsvstricks.com |

After filled with information from blogger setting:

Now, you have full path of custom domain freely from freenom hosted at blogger blogspot. Please note, those steps assumed you already have both account for blooger and Freenom. Enjoy this free hosting and custom domain!
Now you can access this blog at: bagustris.tk with fully custom domain (not only url forwarding).